
Fertilization
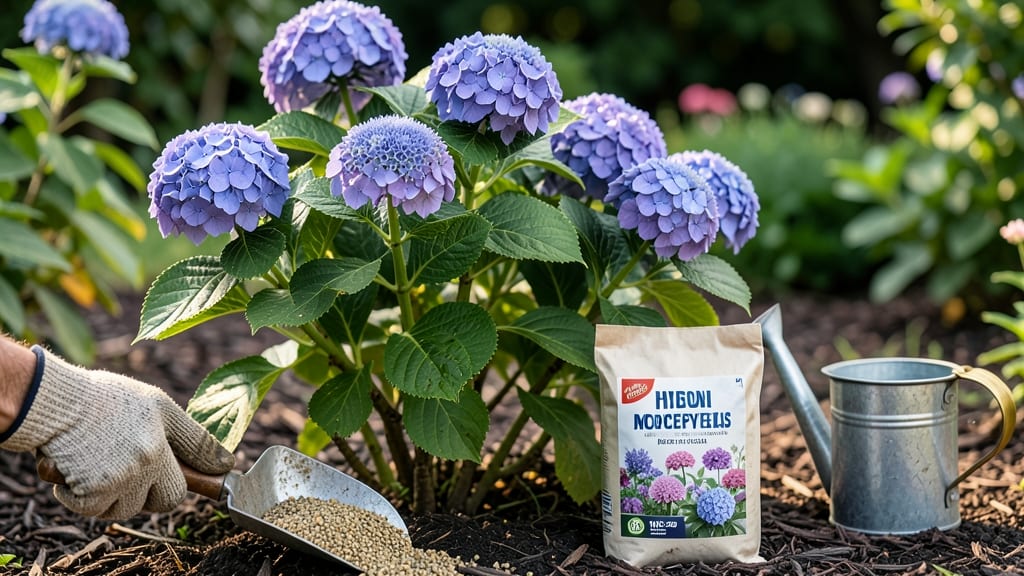
My roses exploded with color this summer—100 blooms on a single bush—because I finally understood bloom fertilizer. 🌸 The secret isn't just throwing any fertilizer on your flowers; it's feeding them exactly what they need to push out more buds, bigger blooms, and longer seasons of color.
Most gardeners oversimplify this, but the right balance of phosphorus, potassium, and micronutrients makes all the difference.
Phosphorus is the bloom booster, potassium strengthens stems, and micronutrients like magnesium keep leaves vibrant. I used a 5-10-5 formula for my roses and hydrangeas, but your flowers might need something different—annuals thrive on quick-release, while perennials benefit from slow-release granules.
The key is matching the fertilizer to your plants' growth stage, not just dumping it when you remember.
You'll see results in just 4-6 weeks: more buds forming, fewer spent blooms, and flowers lasting weeks longer in vases. The trick is applying it at the right time—early spring for root growth, then again when buds form, and one last hit in midsummer for a fall flush.
Overdo it, and you'll get lush foliage but no flowers, which is the exact opposite of what you want.
Works for container gardens, in-ground beds, or even houseplants that bloom—just cut the dose by half. I'll show you how to pick the right type, apply it without burning your plants, and troubleshoot if your blooms still aren't cooperating. Let's get those flowers showing off!
📚 In This Guide
- What you need
- Instructions
- Tips and common mistakes
- Wrapping up and next steps
What you need
- ● Bloom Booster Fertilizer: 1 lb of a high-phosphorus fertilizer (look for a ratio like 10-20-10 or 5-10-5 for flowers). Brands like Miracle-Gro Bloom or Jobe’s Flower Food work great!
- ● Compost or Organic Matter: 2–3 gallons of well-aged compost or worm castings to enrich the soil naturally.
- ● Water: 5 gallons of room-temperature water (avoid cold water to prevent shocking plants).
- ● Measuring Tools: A kitchen scale or measuring cups for precise fertilizer dosing.
- ● A 5-gallon bucket or large mixing container.
- ○ Gloves & Eye Protection: Optional but recommended—fertilizers can be irritating!
- ● pH Test Kit: To check soil acidity (ideal range for most flowers: 6.0–7.0).
- ● Spray Bottle or Watering Can: For even distribution of liquid fertilizer.
- ● Slow-Release Granules: ½ cup of osmocote or similar for extended feeding.
- ● Epsom Salt (Magnesium Sulfate): 1 tbsp to boost green foliage and flower production.
- ● Fish Emulsion or Seaweed Extract: ¼ cup for added micronutrients and growth hormones.
Step-by-Step guide to using bloom fertilizer for flowers
Here's how to maximize your fertilizer's potential for show-stopping blooms—without burning your plants.
🌿 Step 1: Understand Your Plants' Nutritional Needs
Not all flowers respond equally to bloom fertilizers. Annuals like petunias and zinnias thrive on high-phosphorus formulas, while perennials such as daylilies and coneflowers prefer balanced feeds. Check the fertilizer label for NPK ratios—look for numbers like 10-20-20 or 5-10-10 where the middle number (phosphorus) is highest for flowering.
I always match the fertilizer to the plant's growth stage. Early season? Use a 5-10-5 formula to build roots. Once buds form, switch to a 7-9-5 bloom booster. This two-phase approach prevents wasted nutrients and ensures energy goes where it's needed most.
💧 Step 2: Apply at the Right Time and Frequency
Timing matters more than most gardeners realize. Apply bloom fertilizer when you see new growth but no buds yet—this primes the plant for maximum flowering. For most flowers, feed every 4-6 weeks during the growing season (spring through summer). Overfeeding in fall can stimulate tender new growth that won't survive winter.
I use a quarter-strength solution for the first application and gradually increase to full strength by the third feeding. This gradual approach prevents root burn while building tolerance. Always water thoroughly before and after applying liquid fertilizers to help distribute nutrients evenly and prevent salt buildup.
☀️ Step 3: Choose the Right Application Method
Granular fertilizers work best for established plants with deep root systems. Sprinkle the granules evenly over the soil surface, avoiding direct contact with stems or leaves. For container-grown flowers, use half the recommended dose since roots are more concentrated. Water immediately after application to dissolve and distribute the nutrients.
Liquid fertilizers (like bloom boosters) are ideal for quick nutrient uptake, especially during bud formation. Mix the solution in a watering can and apply directly to the soil—not the foliage. I like to fertilize in the early morning when temperatures are cooler, reducing the risk of leaf burn from concentrated solutions.
✂️ Step 4: Monitor and Adjust for Optimal Results
Watch for visual cues that your fertilizer routine is working. Healthy blooms should appear 2-4 weeks after feeding, with flowers lasting longer and stems staying sturdy. If you notice yellowing leaves with green veins, that's a classic sign of nitrogen overload—cut back on feedings immediately and flush the soil with plain water.
I keep a simple journal noting when I fertilize and how the plants respond. For example, if my petunias produce fewer blooms after feeding, I switch to a different fertilizer or adjust the schedule. Some flowers, like impatiens, actually bloom less with heavy feeding—so I fertilize them lightly or not at all once buds form.
🌱 Step 5: Maintain Soil Health Between Feedings
Bloom fertilizers work best when roots have access to organic matter. Mix 1-2 inches of compost into the soil every spring to improve nutrient retention and microbial activity. This reduces reliance on synthetic fertilizers while providing a steady supply of micronutrients that bloom formulas often lack.
Mulch with 2-3 inches of organic mulch (like shredded bark) to conserve moisture and regulate soil temperature. This creates an ideal environment for roots to absorb nutrients efficiently. I always mulch after fertilizing to lock in moisture and prevent nutrient loss from runoff.
Tips & tricks for precision flower fertilizing
These insider tricks will help you avoid common mistakes and get the most vibrant blooms from your garden.
Fertilizer Selection: Always check the NPK ratio on your bloom fertilizer package. The middle number (phosphorus) should be highest for flowering plants—aim for ratios like 10-20-20 or 7-9-5. I've learned the hard way that using a general-purpose 10-10-10 fertilizer can actually reduce blooming while promoting leafy growth instead. For container plants, look for water-soluble formulas that dissolve completely.
Timing Strategy: The 4-6 week feeding schedule works best when you align it with your plants' natural growth cycles. For spring-planted annuals, start feeding when you see the first set of true leaves appear—not when you transplant seedlings. In Step 2, when you apply that quarter-strength solution, I recommend marking your calendar 4 weeks later to avoid missing feedings. Some gardeners forget this timing completely and wonder why their plants aren't blooming!
Application Technique: For granular fertilizers in Step 3, use a spreader to distribute evenly—this prevents clumping that can burn roots. I like to work in small sections, applying fertilizer to one area at a time while keeping the rest of the bed uncovered. When using liquid fertilizers, always mix in a separate container first to avoid accidental spills on foliage. The early morning timing mentioned in Step 3 is crucial—it gives plants time to metabolize nutrients before the heat of the day.
Soil Preparation: Before applying any fertilizer, test your soil's pH level—most flowering plants prefer a slightly acidic to neutral range (6.0-7.0). The 1-2 inches of compost mentioned in Step 5 should be worked into the top 6 inches of soil. I've found that adding a handful of bone meal (which contains phosphorus) to the compost mix gives an extra boost to bud formation without overloading the soil.
Pro Tips for Bloom Fertilizer For Flowers
- These insider tricks will help you avoid common mistakes and get the most vibrant blooms from your garden.
- Fertilizer Selection: Always check the NPK ratio on your bloom fertilizer package.
- Timing Strategy: The 4-6 week feeding schedule works best when you align it with your plants' natural growth cycles.
Frequently asked questions
Got questions about bloom fertilizer? You’re not alone!
Here are answers to the most common queries to help you grow stunning, long-lasting flowers with ease.
How often should I apply bloom fertilizer to my flowers?
Most bloom fertilizers recommend applying every 4–6 weeks during the growing season (spring to fall). For container plants, follow the label’s instructions closely—overfeeding can harm roots. Slow-release granules may last longer, while liquid fertilizers need more frequent applications. Always water thoroughly after applying to avoid burning roots.
Can I use bloom fertilizer on newly planted flowers?
Wait 4–6 weeks after planting before applying bloom fertilizer to give roots time to establish. Newly transplanted flowers are sensitive to high nutrient levels, which can stress them. Instead, use a balanced starter fertilizer (like 10-10-10) or compost tea to encourage root growth before switching to bloom-specific formulas.
What’s the difference between bloom fertilizer and regular fertilizer?
Bloom fertilizers are high in phosphorus (the middle number, e.g., 10-_20_-10), which promotes flowering, while regular fertilizers (like 10-10-10) focus on balanced growth. Look for labels with terms like “bloom booster” or “flowering formula”. For foliage-heavy plants (e.g., ferns), a low-phosphorus fertilizer works better.
What if my flowers aren’t blooming after using bloom fertilizer?
Check these common issues:
- Insufficient light: Many flowers need 6+ hours of sunlight daily. Move plants to a sunnier spot.
- Overcrowding: Trim dead blooms and space plants to improve air circulation.
- Wrong fertilizer: Some plants (like succulents) prefer low-nitrogen formulas. Double-check labels.
- Timing: Apply bloom fertilizer early in the growing season (not mid-summer) for best results.
Are there natural alternatives to chemical bloom fertilizers?
Try these organic options:
- Compost or worm castings: Rich in nutrients and microbes to boost blooms.
- Banana peels: Bury chopped peels near plants for a potassium boost (great for flowering).
- Fish emulsion or seaweed extract: Provides phosphorus and micronutrients.
- Epsom salt (magnesium sulfate): Mix 1 tbsp per gallon of water monthly for vibrant blooms.
Wrapping up and next steps
Choosing the right bloom fertilizer for flowers is your secret weapon for a garden that bursts with color and life! 🌸 Whether you opt for organic options like fish emulsion or compost tea, or prefer the convenience of synthetic blends, the key is consistency and balance.
Pay attention to NPK ratios and seasonal needs—your flowers will thank you with blooms that last longer and shine brighter.
Ready to transform your garden? Start by testing your soil, then pick a fertilizer tailored to your favorite blooms. Grab your gloves, and let’s grow something stunning! 🌱