
Blooming
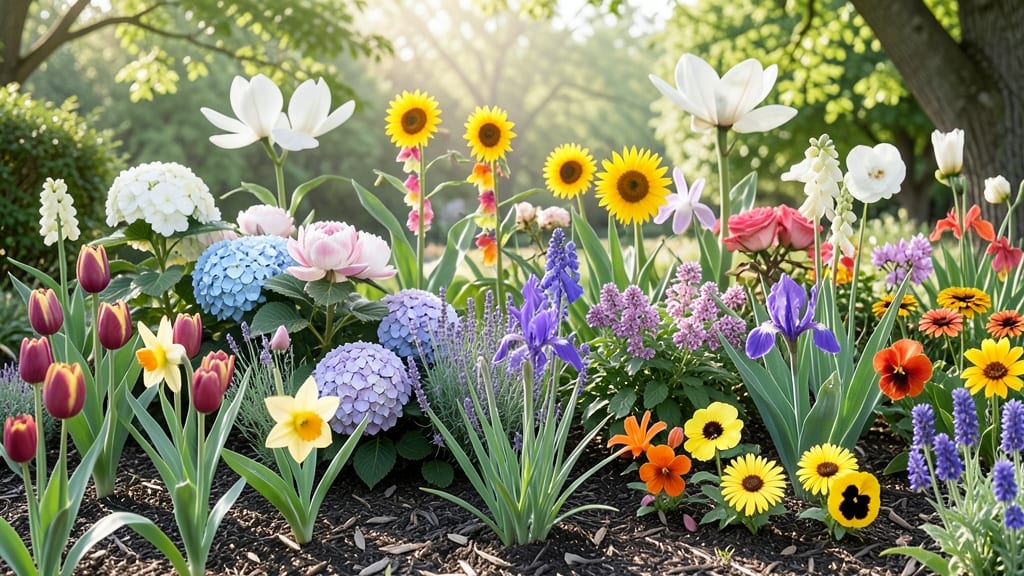
A flower bloom time chart is your secret weapon for a garden that never looks bare. 🌸 I used mine last spring to swap out tulips for petunias just as the first blooms started fading—keeping color going until frost. The right timing turns a seasonal garden into a year-round show.
This isn't about memorizing dates—it's about matching plants to your climate zone. My Zone 6 garden now has something blooming every month, from crocuses in February to chrysanthemums in November. The chart helps you pair early bloomers like hellebores with late-season asters for seamless transitions.
You'll end up with a garden that feels alive all season long—no more empty patches or guessing when to plant. The key is layering plants that overlap in bloom time, so one fades just as another takes over.
Think of it as a living calendar where every month has its own star. Works for containers, borders, or cutting gardens—just adjust for your zone. Here's how to use it like a pro!
📚 In This Guide
- What you need
- Instructions
- Tips and common mistakes
- Wrapping up and next steps
What you need
- ● Printed or digital USDA Zone map – Check your zone (e.g., Zone 5–10) for accurate bloom timing.
- ● Printer & paper (or tablet/phone) – For printing a blank chart template (8.5" x 11" recommended).
- ● Colored pencils, markers, or digital tools – 12+ colors to represent each month.
- ● Ruler & pencil – For precise grid lines (1-inch squares work well).
- ● Flower bloom reference guide – A book or online list of flowers by USDA zone (e.g., Peonies (Zone 3–8), Hydrangeas (Zone 3–9)).
- ● Stickers or washi tape – To highlight peak bloom months.
- ● Laminator – Protect your chart from coffee spills (or curious pets!).
- ● Plant labels – Tiny tags to note bloom times directly in your garden.
- ● Weather app integration – Sync bloom dates with local frost/freeze alerts.
- ● Basic knowledge of your USDA Hardiness Zone (find yours blank">here).
- ● Access to a flower database (e.g., blank">Burpee or MBG).
- ● Patience! Some flowers (like Magnolias) bloom before leaves appear—fun fact!
How to use a flower bloom time chart for year-round planning
Here’s how I turn bloom charts into a foolproof schedule for vibrant gardens.
🌱 Step 1: Identify Your USDA Zone and Seasonal Patterns
First, locate your USDA Hardiness Zone—this determines your frost dates and growing seasons. I always check my local cooperative extension office website or use the USDA Plant Hardiness Zone Map for accuracy. For example, Zone 5 has a shorter growing season than Zone 8, so spring-blooming bulbs like tulips need to be planted earlier to flower before summer heat arrives.
Next, note your first and last frost dates—these mark the boundaries for cool-season bloomers like pansies and snapdragons. I mark these dates on my calendar in red so I never overlook them. If you’re in a warmer zone (like 9 or 10), you might have year-round blooms, but even then, some flowers need a winter break to reset.
☀️ Step 2: Map Out Monthly Bloomers by Color and Height
Now, group flowers by their bloom months and arrange them in your garden layout. I start with early spring (March-April) bloomers like daffodils and crocuses, then layer in summer (June-August) stars like zinnias and sunflowers, and finally fall (September-October) favorites like mums and asters. This ensures continuous color without gaps.
Pay attention to height and spread—tall flowers like delphiniums should go in the back, while shorter ones like pansies can edge walkways. I sketch a rough garden map on graph paper, labeling each flower’s bloom time. This helps me visualize how colors will transition seasonally. For instance, blue hydrangeas in summer will fade into goldenrod in fall, creating a natural progression.
⏰ Step 3: Schedule Planting and Maintenance by Bloom Time
Use the chart to time your planting—bulbs like tulips need to go in the ground 6-8 weeks before the first frost, while annuals like marigolds can wait until after the last frost. I set reminders on my phone for each task, like dividing perennials in early spring or deadheading spent blooms in summer to encourage reblooming.
For long-blooming perennials like coneflowers or black-eyed Susans, I note their peak bloom time and plan to deadhead them after flowering to redirect energy into next year’s blooms. If a flower is a short-term bloomer (like sweet peas), I’ll plant extra seeds or bulbs to stagger their bloom times for extended color.
🌿 Step 4: Adjust for Your Local Climate Quirks
Not all bloom charts account for microclimates—like a sunny south-facing wall that stays warmer than the rest of your yard. I’ve learned that in my Zone 6 garden, some late-summer bloomers like heleniums start flowering 2 weeks earlier near the patio than in the shady border. Adjust your schedule based on what you observe each year.
If your area has unpredictable weather, like late frosts or early heat waves, I recommend planting succession bloomers—flowers that naturally extend their season, like cosmos or bachelor’s buttons. These fill gaps if your usual bloomers get knocked back by weather surprises.
✂️ Step 5: Prune and Deadhead for Next Year’s Blooms
After the first frost, I clean up spent blooms but leave seed heads for winter interest (like coneflower or black-eyed Susan). For perennials that need spring pruning (like peonies or daylilies), I mark them on my chart so I don’t accidentally cut them back too early. I’ve made the mistake of pruning peonies in fall—now I wait until early spring when new growth appears.
By late winter, I review my bloom chart and plan next year’s additions, noting which flowers underperformed or faded too quickly. This helps me fine-tune my garden for even more reliable blooms season after season.
Tips & tricks for perfect year-round garden planning
Here's what nobody tells you about making bloom charts actually work for your garden.
Zone-Specific Adjustments: Don't rely solely on the USDA zone map—check your local cooperative extension office for hyper-local adjustments. For example, I discovered my Zone 6 garden has a microclimate near the patio where spring arrives 10 days earlier than the official zone average. I now plant early bloomers like crocuses 2 weeks earlier in that spot while following the standard schedule elsewhere. This simple adjustment gives me an extra 3 weeks of color!
Color Transition Strategy: When mapping your garden layout in Step 2, think about color families that flow naturally together. I pair cool blues (like delphiniums) with warm yellows (like coreopsis) for a harmonious summer palette. For fall, I transition from deep purples (like asters) to fiery oranges (like goldenrod). This creates visual continuity that makes your garden feel intentional rather than random. Pro tip: Use a color wheel to plan your seasonal progressions.
Planting Reminder System: The 6-8 weeks before first frost timing in Step 3 is critical, but I've found most gardeners forget this detail. Set up multiple reminders: one on your phone calendar, another on your fridge, and a physical note on your garden gate. I also color-code my reminders by season—green for spring, yellow for summer, and orange for fall—so I can glance and know exactly what's coming up.
Deadheading Discipline: After flowering, don't just cut back—be strategic. For perennials like coneflowers, I remove only the spent blooms while leaving the seed heads for winter interest. For annuals like zinnias, I cut back to just above a set of leaves to encourage bushier growth. This small difference makes a huge impact on next year's blooms and keeps your garden looking tidy without sacrificing beauty.
Pro Tips for Flower Bloom Time Chart
- Here's what nobody tells you about making bloom charts actually work for your garden.
- Zone-Specific Adjustments: Don't rely solely on the USDA zone map—check your local cooperative extension office for hyper-local adjustments.
- Color Transition Strategy: When mapping your garden layout in Step 2, think about color families that flow naturally together.
Frequently asked questions
Got questions about when your favorite flowers will burst into bloom? Here’s a quick guide to the most common inquiries—plus tips to maximize your garden’s beauty!
How do I adjust bloom times for my specific USDA zone?
Bloom times on charts are based on average conditions for each zone. If you’re in a warmer microclimate (like a south-facing garden), flowers may bloom 1–2 weeks earlier. Conversely, colder zones could see delays. Check your local frost dates and adjust planting schedules accordingly.
Why isn’t my flower blooming on schedule?
Several factors can shift bloom times: light exposure (too much shade delays blooms), soil quality (poor drainage or nutrients can stress plants), or over-fertilizing (which encourages foliage over flowers). Check your plant’s care tags, ensure it’s getting 6+ hours of sunlight, and avoid heavy nitrogen fertilizers—phosphorus and potassium are key for blooms!
Can I force flowers to bloom earlier or later?
Some flowers (like poinsettias or paperwhites) respond to light tricks—place them in a cool, dark room for 2–3 weeks, then expose to bright light to trigger blooming. For perennials, pruning spent blooms can encourage a second flush, but avoid this with late-season bloomers (e.g., coneflowers). Patience is key—most flowers bloom on their own timeline!
What are the best low-maintenance flowers for consistent blooms?
If you want reliable bloomers with minimal fuss, try:
- Lantana (summer–fall, drought-tolerant)
- Black-eyed Susan (late spring–fall, thrives in poor soil)
- Russian sage (late summer–fall, deer-resistant)
- Daylilies (re-bloom seasonally with minimal care)
How do I create a year-round blooming garden?
Layer plants with staggered bloom times—pair early spring bulbs (like daffodils) with summer annuals (e.g., marigolds) and fall perennials (e.g., asters). Add evergreens or ornamental grasses for structure, and use a monthly bloom chart to plan succession planting. Pro tip: Mulch heavily in winter to protect roots and extend the season!
Wrapping up and next steps
Understanding your USDA zone and the perfect flower bloom time chart can transform your garden into a year-round paradise! 🌸 Whether you're planning seasonal color or extending blooms with smart choices, you now have the tools to make it happen. Start small—pick one or two flowers to test this season, then build your dream garden step by step!
🌱 Next Steps:
- Plant your first blooms! Grab seeds or seedlings based on your zone and bloom schedule.
- Keep a garden journal to track what thrives (and what doesn’t) for future success.
- Share your progress—join gardening communities for tips and inspiration!