
Blooming
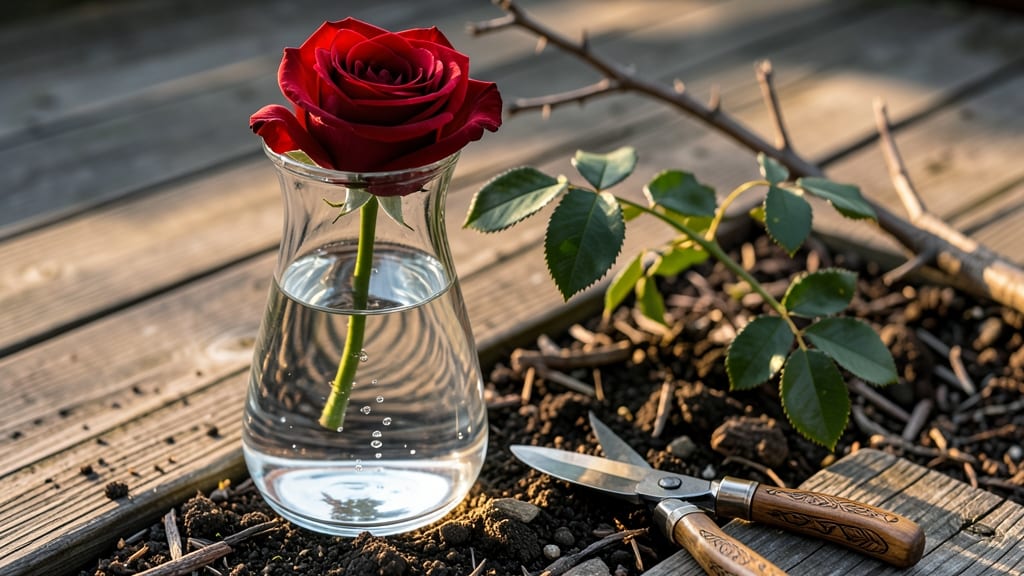
Learn how to display long-stem roses the right way, and they’ll turn your space into a breathtaking centerpiece—cramming stems into a vase is a rookie mistake, but mastering this trick keeps them lush for weeks. 🌹 the day you picked them.
The secret lies in water, spacing, and a few unexpected tricks that keep those petals from wilting too fast.
Start with a clean vase—glass or ceramic—that's just 1-2 inches wider than your stems. Fill it with fresh water and a splash of floral preservative (or a pinch of sugar and bleach if you're pinching pennies).
Trim stems at a 45-degree angle right before arranging, then strip lower leaves that would sit underwater. Space stems every 2-3 inches apart so they don't compete for water.
What you end up with is a display that lasts 10-14 days while looking like it was designed by a pro.
Add foliage like eucalyptus or ferns to fill gaps, and place your arrangement where light hits it for just a few hours a day—direct sun wilts roses faster than you'd think. For outdoor displays, swap vases for rustic buckets or even hollowed-out tree stumps to match your garden's vibe.
Seasonal swaps make all the difference: in summer, opt for bold reds and deep pinks; in spring, pale blushes and yellows feel lighter and airier. For events, add a single stem of baby's breath or dusty miller to make arrangements look fuller without bulk.
The key is keeping it simple—your roses are the stars, not the supporting cast.
📚 In This Guide
- What you need
- Instructions
- Tips and common mistakes
- Wrapping up and next steps
What you need
- ● Long-stem roses: 3–7 stems (depending on vase size and desired fullness). Choose fresh, unopened buds for longer vase life.
- ● Clean vase: A tall, narrow vase (8–12 inches) or a low, wide bowl (6–8 inches) for dramatic or cascading styles.
- ● Sharp floral shears or scissors: Clean, sterilized tools to trim stems at a 45-degree angle (avoid dull blades!).
- ● Floral preservative: A packet of commercial preservative (like Floralife) or a DIY mix (1 tsp sugar + 2 drops bleach per quart of water).
- ● Room-temperature water: Enough to fill the vase halfway (cold water can shock stems).
- ● Newspaper or towel: To protect surfaces and catch water drips.
- ● Decorative elements: Gravel, pebbles, or floral foam (if using a heavy vase) to weigh stems down.
- ● Greenery or filler flowers: Baby’s breath, eucalyptus, or hydrangeas for texture and volume.
- ● Vase liner or cloth: To hide water stains or add a rustic touch.
- ● Spray bottle with water: To mist leaves and keep them fresh.
- ● Floral tape or wire: For securing stems if arranging in a non-traditional vase (e.g., teacups, bottles).
Step-by-Step instructions for creating stunning long stem rose arrangements
Here's how I transform long stem roses into showstopping centerpieces that last for days.
🌿 Step 1: Prepare the Stems for Maximum Longevity
Start by trimming the stems at a 45-degree angle about 2 inches from the bottom. This angled cut increases water absorption surface area. I use sharp floral shears—dull blades crush stems and block water uptake. Remove any leaves that will sit below the waterline in your vase; submerged foliage promotes bacterial growth and shortens vase life.
Place the stems immediately in a bucket of lukewarm water for 15-30 minutes before arranging. This hydrates the stems and removes air bubbles that could block water flow. You'll notice the petals perk up noticeably after this quick soak—it's like giving them a refreshing drink before the big debut.
☀️ Step 2: Select and Prepare Your Vase
Choose a vase that's 1-2 inches taller than your stems—this ensures proper support without overwhelming the flowers. I like wide-mouth vases for long stems because they allow easy stem insertion and create a dramatic display. Clean the vase thoroughly with hot, soapy water and rinse well; any residue can clog the stems.
Fill the vase with fresh, room-temperature water—never use cold water straight from the fridge as the temperature shock stresses the flowers. Add 1 teaspoon of floral preservative (or a mix of 1 part bleach to 10 parts water) to prevent bacterial growth. The preservative isn't just for show—it keeps your arrangement fresh for at least 7 days instead of 3.
✂️ Step 3: Arrange the Stems for Balance and Drama
Start by placing the 3 tallest stems evenly spaced around the vase's circumference. Space them about 1 inch apart at the base—this creates a natural triangle foundation. Next, add 2-3 medium-height stems to fill gaps, then 1-2 shorter stems to complete the arrangement. Step back frequently to check balance; you want the stems to look full but not crowded.
Gently fan out the stems as you insert them, creating movement and depth. Avoid packing stems too tightly—this restricts water flow to inner stems. You'll see the petals naturally spread outward once they've had a chance to hydrate properly. For extra drama, let 1-2 stems trail slightly over the vase edge; this adds a romantic, cascading effect.
💧 Step 4: Maintain Your Arrangement for Peak Freshness
Change the water every 2 days and trim stems at a fresh 45-degree angle each time. The water should always be room temperature—never cold or hot. I like to add a fresh drop of floral preservative with each water change to keep bacteria at bay. Place your arrangement in indirect light—direct sunlight causes petals to wilt faster and water to heat up.
Mist the petals lightly with water once daily to maintain hydration. You'll notice the petals stay crisp and vibrant when you do this—it's like giving them a quick spritz in the morning. Keep stems away from heat sources like radiators or vents; even moderate heat accelerates wilting. With proper care, your long stem roses will stay stunning for up to 10 days—far longer than most people expect.
Tips & tricks for perfect long stem rose arrangements
These little details make all the difference between a pretty bouquet and a showstopping centerpiece.
Cutting Technique: The 45-degree angle cut in Step 1 isn't just about looks—it's about science! Use sharp floral shears (not kitchen scissors) to make clean cuts. The larger surface area allows stems to drink up water like a straw, keeping your roses hydrated for days. I always make the cut under running water to prevent air bubbles from forming in the stem ends, which would block water uptake.
Hydration Hack: That 15-30 minute lukewarm water soak in Step 1 is your secret weapon. Think of it as a refreshing shower for your roses before the big event. The warm water opens the stem pores wider, helping them absorb more water and nutrients. Pro tip: Add a pinch of sugar to this initial soak—it feeds the flowers and helps them stay perky longer.
Vase Selection Strategy: When choosing your vase in Step 2, consider the height difference carefully. A vase that's too short will make your stems look cramped, while one that's too tall will make them appear lost. Wide-mouth vases are ideal because they allow you to see the stems clearly when arranging, making it easier to create that perfect triangular foundation. I like to test-fit stems in the vase before finalizing the arrangement.
Preservative Power: The floral preservative in Step 2 isn't optional—it's the difference between 3 days and a full week of beauty. While commercial preservatives work well, you can make your own by mixing 1 teaspoon of sugar, 2 tablespoons of white vinegar, and 1 tablespoon of bleach in 1 quart of water. This DIY version fights bacteria, feeds the flowers, and keeps the water clear longer than plain water alone.
Pro Tips for Display Long Stem Roses
- These little details make all the difference between a pretty bouquet and a showstopping centerpiece.
- Cutting Technique: The 45-degree angle cut in Step 1 isn't just about looks—it's about science!
- Hydration Hack: That 15-30 minute lukewarm water soak in Step 1 is your secret weapon.
Frequently asked questions
Got questions about displaying long-stem roses like a pro?
Here are answers to the most common ones—so you can keep those blooms fresh and stunning for days!
How do I keep long-stem roses fresh for the longest time?
Trim stems at a 45-degree angle before placing them in water, and recut every 2-3 days. Use room-temperature water, change it daily, and store them away from direct sunlight or drafts. A drop of bleach or flower food can also extend their life!
How soon should I arrange long-stem roses after receiving them?
Arrange them as soon as possible—ideally within 2-4 hours of delivery. If you can’t arrange them right away, store them in a cool place (like the fridge) with stems submerged in water. This keeps them hydrated until you’re ready to display!
What’s the best vase for long-stem roses?
A tall, narrow vase (like a cylinder or bud vase) works best to support the height and prevent water spillage. For a rustic look, try a mason jar or glass pitcher. Just ensure the vase is clean and wide enough to hold the stems securely without overcrowding.
Can I display long-stem roses without a vase?
Try these creative alternatives:
- Place stems in a glass bottle (like a wine bottle) for a chic, minimalist look.
- Use a bucket or basin filled with water for a bold, modern vibe.
- For a whimsical touch, arrange them in a flower frog or a decorative tray with water.
Why are my long-stem roses wilting so fast?
Wilting can happen due to air bubbles in the stems (re-cut and rehydrate), bacteria in the water (use fresh water daily), or dehydration (trim stems and add flower food). Also, avoid placing them near fruit (ethylene gas speeds up wilting) or in direct sunlight.
Wrapping up and next steps
Displaying long-stem roses with confidence is all about balance, creativity, and a little patience—and you’ve got this! Whether you’re going for a romantic bouquet, a minimalist centerpiece, or a whimsical garden look, the key is letting those stunning blooms shine while keeping the stems healthy.
Now that you’re armed with the right techniques, go ahead and experiment—mix textures, play with heights, and trust your eye!
Ready to level up your floral game? 🌸 Try arranging a seasonal combo next—pair those roses with eucalyptus, berries, or even a pop of greenery for a fresh twist. Happy arranging!